RSS Feed

Tag Archives: cooking with kids

Spiced carrot muffins

spiced carrot muffins

Nicholas loves making and eating ‘muffles’ (that’s muffins to you and I!). I’m not sure he understands that what he’s stuffing into his mouth are the fruits of his zealous stirring and pouring, but that doesn’t matter; we both like eating them.

While these muffins aren’t sugar-free, I have reduced the sugar a lot. With the healthy carrot, seeds and sweet raisins inside, as well as some wholemeal flour, I think the amount of sugar is ok. And adding a pinch of extra sugar on the top makes them seem much sweeter than they are 😉

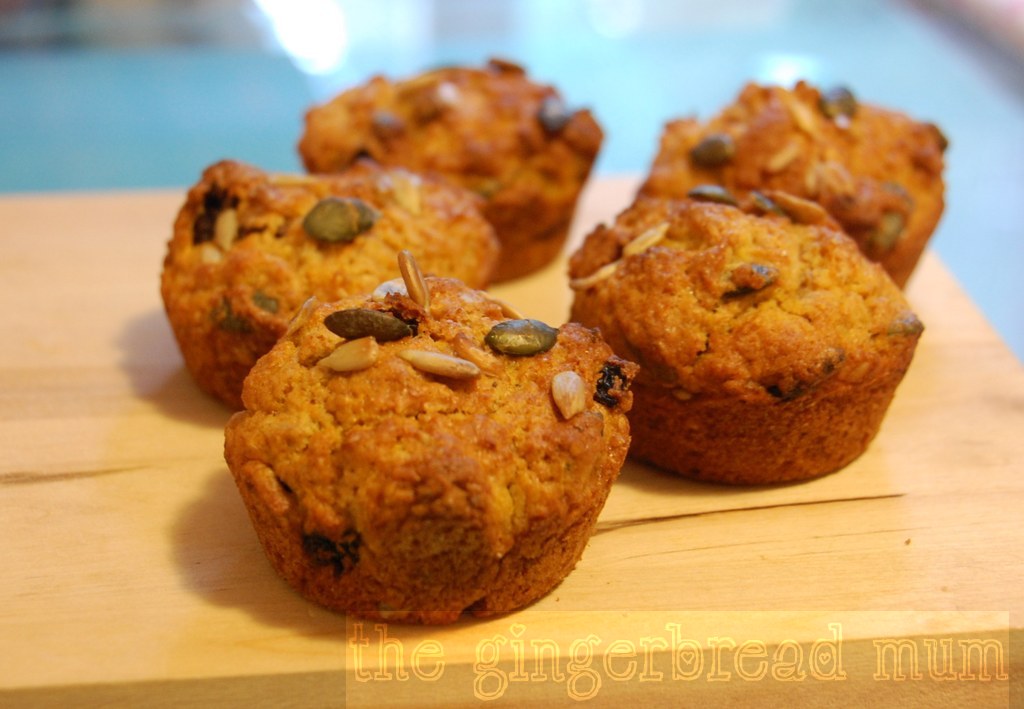
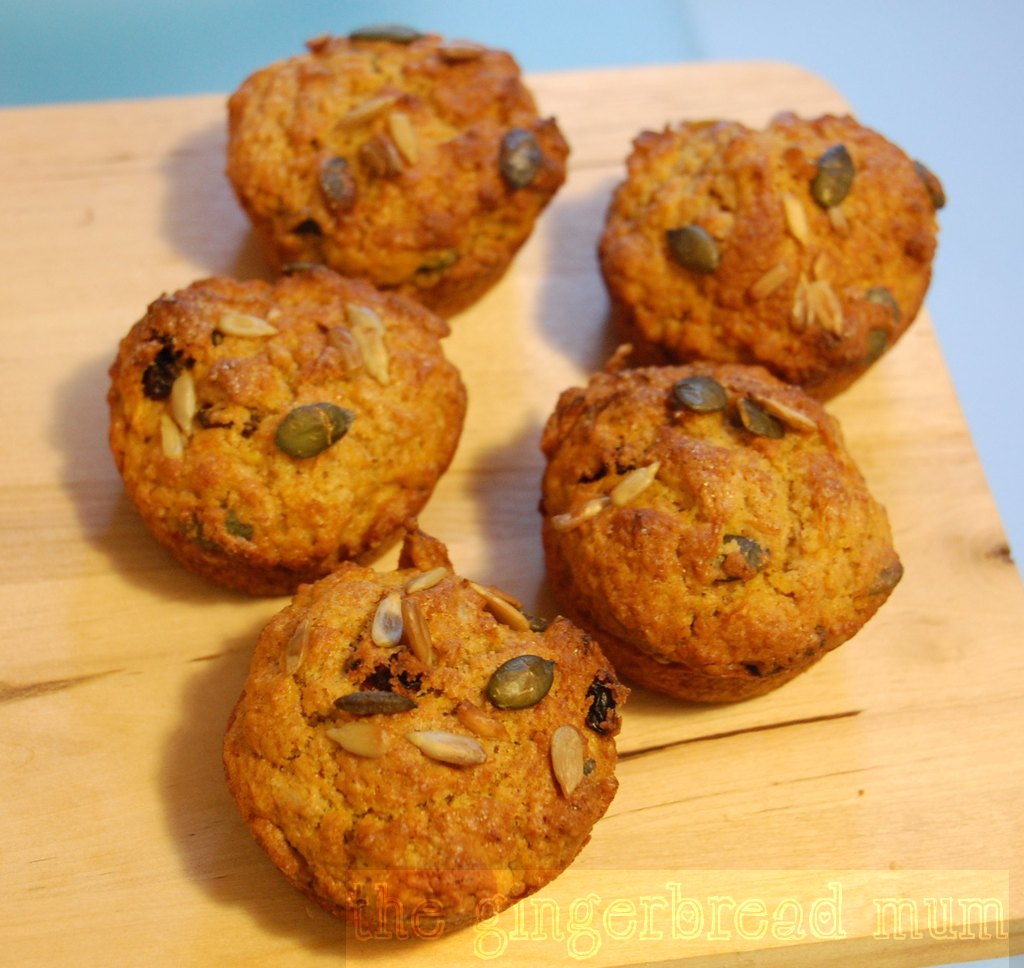
You can easily leave out the seeds, but I like the different texture they add to the muffins. I also like sprinking a few more over the tops before baking.

SPICED CARROT MUFFINS

Prep time: 10-15 mins
Cook time: 18-20 mins
Makes 12 regular-sized muffins
Freezable

150g white self-raising flour
100g wholemeal self-raising flour
75g golden caster sugar
1 tsp baking powder
1 tsp ground cinnamon
1/2 tsp ground ginger
1/4 tsp nutmeg
30g raisins
20g pumpkin seeds
20g sunflower seeds
125ml vegetable oil
125ml milk
1 egg
1 large carrot, grated
Extra golden caster sugar for sprinkling

Preheat the  oven to 180C and grease your muffin tin with a little oil or cooking spray (or line your tin with paper cases to avoid washing the tin).

In a medium-sized bowl, mix the white and wholemeal flours, the caster sugar, baking powder, cinnamon, ginger and nutmeg. Stir in the raisins, pumpkin seeds and sunflower seeds, until evenly distributed.

In a jug or another bowl, whisk the oil, milk and egg together. Squeeze the excess liquid from the grated carrot and stir it through the milk mixture.

Pour the milk mixture into the dry ingredients and mix until just combined (mixing too much will make your muffins heavy and dense).

Pour into prepared tin and bake for 18-20 mins until golden on top and cooked through when tested with a skewer.

spiced carrot muffins

Variations:

  • add chopped walnuts or pecans instead of the pumpkin and sunflower seeds

Tip: soak the raisins in hot water for about 10 minutes beforehand to become plumper and avoid them drying out while cooking.

Happy 2013 (and how to use up Christmas candy canes)

During our lovely long and sunny holiday on the other side of the world, I enjoyed being relatively technology free. Forgive me if it takes me a little while to get back into the swing of things. Going from hot days at the beach to waking up this morning to a fine layer of snow is difficult!

If, like me, you’re struggling to go back to your routine, why not hold on to some Christmas cheer for just a bit more by making my Christmas candy cane balls. You probably have some candy canes left over and these are a great way to use them up (and they taste yummy too, even if I do say so myself!). There’s no cooking involved, have only three main ingredients (plus some coconut for rolling them in) and kids will love bashing up the candy canes.

Candy cane balls

My recipe is over at Mindful Mum.

Nutella pizza stars

Nutella pizza stars

We had so much fun making our mini pizzas, that we’ve been using the pizza dough to make other things, sweet things!

Cooking the pizza dough a bit longer and without any topping, creates a lovely crispy biscuit texture. And even though the dough isn’t sweet, adding something sweet on top is enough to turn the savoury dough into a sweet treat.

Little ones can help make the dough, roll it out and cut out the shapes, and there’s no easier decoration than spreading Nutella and dusting with icing sugar. They’re going to love their creations!

NUTELLA PIZZA STARS

Prep time: 1 hr 40 mins (for dough to rise twice)
Cook time: 5 mins
Makes about 30 biscuits
Uncooked dough can be frozen

7 g dried yeast
1/4 cup warm water
2 cups strong white bread flour such as “OO” flour
1/2 tsp salt
1 1/2 tbsp olive oil
1/2 cup cold water
A handful of semolina (optional)
1 jar of Nutella
icing sugar to serve

Put the warm water in a small bowl and add the yeast. Leave for 15 mins for it to froth up.

In a large bowl, mix the flour, salt, olive oil and cold water. Add the yeast mixture and mix until it comes together in a ball.

Knead the dough on a floured work surface for about 5 mins. It should feel elastic and soft, and be a bit sticky.

Put the dough back into the bowl, cover and leave to prove for 20 mins.

Divide the dough into two, place the second piece in another bowl, cover both and leave to prove again for an hour (the dough should double in size).

Heat oven to 220C and leave the tray you’ll use (preferably a heavy-based one) inside to heat up (this helps cook the bottom of the pizzas).

Lightly flour your work bench and roll out one piece of the dough as thin as you can. Use a star-shaped cookie cutter to cut out your shapes.

Lightly cover a cutting board with semolina, place your pizza stars on top and drizzle with a dash of olive oil. Open the oven and bring the hot tray out enough so you can  sprinkle on some more semolina and slide the stars from the cutting board on to the tray (the semolina will help them move more easily).

The time it takes to cook your pizza stars depends on the thickness of your dough, but they should only take about 5 mins so keep a close eye on them. They’ll probably puff up a little. They’re done when the dough is golden brown on the edges.

Put the stars on a wire rack to cool. Once cool, spread with some Nutella and dust with icing sugar.

Nutella pizza stars

Mini pizzas (pizzettas)

Nicholas loves pizza. Does any child not love pizza? So I thought, let’s try making it together for our next cooking adventure. There’s lots of fun to be had rolling and shaping the dough, and then there’s the toppings.

I prepared the dough on my own, then involved Nicholas in making the mini pizza bases. He has a little plastic roller that was absolutely perfect for rolling out the dough, so perfect in fact we kind of fought over who used it! I’d already prepared some toppings in separate little plastic bowls ready for sprinkling over the bases, but the dough was much more interesting and Nicholas left the topping selection up to me. Perhaps he’ll be more interested next time.

mini pizzas

On the subject of pizza dough, hubby is always searching for the perfect recipe. The leftovers of his quest are lurking in the dark corners of our freezer. I’m not convinced he’ll find his pizza ‘grail’, but don’t tell him that otherwise I won’t get to eat his experiments.

Not being Italian, I’m not so fussy with my pizza dough. And I also have this theory that if you make your bases as thin as you can, you can be almost guaranteed your pizza will be yummy (I have to whisper this next bit: even without using the proper Italian flour).

If you’re making these with your munchkin, use toppings they like. And remember that children generally like their food very colourful, much more than us boring adults. We topped our pizzettas with a little tomato puree, grated courgette/zucchini, pieces of buffalo mozzarella and diced fresh tomatoes. Oh, and no matter what you put on top, a final drizzle of olive oil over the top makes them perfect.

MINI PIZZAS

Prep time: 1 hr 40 mins (for dough to rise twice)
Cook time: 5-10 mins
Makes about 30 mini pizzas or 2 medium pizzas
Uncooked dough can be frozen

7 g dried yeast
1/4 cup warm water
2 cups strong white bread flour such as “OO” flour
1/2 tsp salt
1 1/2 tbsp olive oil
1/2 cup cold water
A handful of semolina (optional)

Put the warm water in a small bowl and add the yeast. Leave for 15 mins for it to froth up.

In a large bowl, mix the flour, salt, olive oil and cold water. Add the yeast mixture and mix until it comes together in a ball.

Knead the dough on a floured work surface for about 5 mins. It should feel elastic and soft, and be a bit sticky.

Put the dough back into the bowl, cover and leave to prove for 20 mins.

Divide the dough into two, place the second piece in another bowl, cover both and leave to prove again for an hour (the dough should double in size).

Heat oven to 220C and leave the tray you’ll use (preferably a heavy-based one) inside to heat up (this helps cook the bottom of the pizzas).

Lightly flour your work bench and roll out one piece of the dough as thin as you can. Use a round cookie or scone cutter to cut out your shapes and try to tease each circle a little more with your fingers to make it even thinner.

Lightly cover a cutting board with semolina, place your pizza bases on top and then add your toppings. Finish with a drizzle of olive oil. Open the oven and bring the hot tray out enough so you can  sprinkle on some more semolina and slide the pizzas from the cutting board on to the tray (the semolina helps the pizzas move more easily).

The time it takes to cook your pizza depends on the thickness of your dough and the amount of toppings you’ve put on. As a guide, check after 5 mins. They’re done when the dough is golden brown on the edges, and the cheese is bubbling and just starting to turn golden.

Finish with some torn pieces of fresh basil.

mini pizzas

Cheesy courgette muffins

Nicholas loves being in his kitchen pod, up where all the action is happening, and today as soon as he was in it he started chanting ‘Cook! Cook! Cook!’ Mummy couldn’t have been happier!

Up until now, we’ve just made biscuits together, either my chewy oaty biscuits or a variation of them. I thought it was time to try something savoury, something Nicholas could have as a proper meal rather than a treat. Looking through one of my favourite mummy foodie blogs for inspiration, Gourmet Mum, I knew Filipa’s muffin recipe would be perfect.

I made very few changes to Filipa’s recipe as it’s fantastic as it is. She uses dried as well as fresh herbs, but I just used fresh, and I sprinkled some grated parmesan over the tops of the muffins before baking for an extra crispy cheesy top (What makes cheesy muffins taste better? More cheese!).

If you’re making these with little ones, prepare everything beforehand so they’re just pouring and mixing. Older children can do more of the preparation, especially weighing and measuring the ingredients.

The muffins are wonderful for lunch (you can serve them with some raw vegetables) and would be great for brunch or packed in a picnic basket. And if you’re not a vegetarian, they’d be delicious with some pieces of cooked ham or bacon in the mixture.

CHEESY COURGETTE MUFFINS

Prep time: 10-15 mins
Cook time: 20-30 mins
Makes 12 regular-sized muffins
Freezable

200g self-raising white flour
100g self raising wholemeal flour
1/2 tsp baking powder
80g cheddar cheese, coarsely grated
1 small courgette / zucchini (about 120g), coarsely grated
2 eggs, lightly beaten
210ml milk
90ml vegetable oil
1 tbsp fresh chives or parsley, finely chopped
1/2 tsp salt (optional)
4 tbsp grated parmesan

Preheat the oven to 200C. Either lightly spray a 12-hole muffin tray with cooking spray or line with paper cases.

Mix the white and wholemeal flours, baking powder and grated cheese in a large bowl.

In a separate bowl or jug, combine the courgette, eggs, milk, oil, herbs and salt (if using). Add this to the flour mixture, mixing until just combined (mixing as little as possible keeps your muffins light in texture).

Divide the mixture evenly between the 12 muffin holes. Sprinkle the grated parmesan over the tops of the muffins.

Bake for 20-30 minutes until golden and cooked through when tested with a skewer.

Tip out onto a wire cooling rack.

Variations:

  • Add a handful of chopped cooked ham or bacon to the muffin mixture.

Chewy oaty biscuits

So Nicholas’ first go at cooking went really well. He particularly enjoyed spooning the ingredients into the various bowls. I had laid out a number of different sized spoons and he tried all of them, preferring the smaller ones (it makes sense when his chubby hands are so small).

I found Michelle’s advice over at What’s Cooking With Kids really useful. She suggests using a large bowl with a non-skid bottom, putting the mixing bowl inside a larger bowl to avoid spills, and setting up everything ahead of time so your little one doesn’t get bored waiting for you to prepare. One of her readers also recommends using a funnel which I think would work really well. Nicholas definitely enjoyed using a jug, especially while we were waiting for the biscuits to cook.

It’s important to choose something that’s easy to cook. A recipe that involves mainly pouring ingredients into a bowl and mixing them is perfect. Biscuits or slices that have melted butter are great; you can melt the butter beforehand and let it cool so little hands are safe when mixing. Also try to make something that doesn’t take very long to cook so you can both sample your munchkin’s efforts as soon as possible.

These chewy oaty biscuits are a simple recipe you can find all over the place with the same basic ingredients. They’re simple, perfect for kids to make and easy to vary. I used this recipe from NetMums and added some raisins, but the possible variations are almost limitless.

The texture is similar to flapjacks (firm on the outside with a chewy centre), in fact you could press the mixture into a square tin and then cut into pieces rather than rolling it into biscuits.

We didn’t get any where near the 24 biscuits the original recipe says and our biscuits were small. Even with some mixture going on the floor and into a little mouth, it was closer to 18 small biscuits

CHEWY OATY BISCUITS

Prep time: 10 mins
Cook time: 10-15 mins
Makes about 18 small biscuits or 12 medium-sized biscuits
They keep well for several days in an airtight container

75g butter
1 tbsp golden syrup
75g plain flour
1/2 tsp bicarbonate of soda
75g demerara sugar
75g porridge oats
25g raisins

Preheat the oven to 170C. Grease or line an oven tray with baking paper.

Gently melt the butter and golden syrup either in the microwave or in a small saucepan. Leave to cool.

Sift the flour and bicarbonate of soda into a mixing bowl.

Add the sugar, oats and raisins and stir together.

Pour in the cooled melted butter and golden syrup and mix until combined.

Roll the mixture into small balls and place well apart on the prepared tray. Press down with the back of an oiled spoon to make flatter biscuits or leave for more rounded biscuits.

Bake for 10-15 minutes until golden brown.

Variations:

  • Use a dairy-free margarine instead of the butter to make dairy-free biscuits
  • Use honey instead of golden syrup
  • Add other dried fruit such as chopped dried apricot, dried apple or dried strawberries
  • Add chocolate chips
  • Drizzle with melted chocolate or dip half of each biscuit into melted chocolate
  • Add some spice such as cinnamon or ground ginger
  • Add flaked almonds
  • Add desiccated coconut

Have you tried cooking with your kids? What advice would you give to make it as stress free as possible?

My little chef

Nicholas had his first go at cooking today! I have to admit I had prepared myself psychologically for food to go everywhere, and had an opened bottle of red and a coffee at the ready to calm me. But, I was delightfully impressed by the lack of mess at the end. A great first attempt for both of us!

I promise I’ll share the recipe very soon. In the meantime, can you guess what we made?